Cooler Maintenance That Stops Musty Odors for Good
By Diego Alvarez • 3rd Oct
As a fisherman who's spent decades preserving catch quality from deck to dock, I know cooler maintenance is where most people undermine their cold chain before they even pack ice. Cleaning portable coolers isn't just about appearances (it is the critical foundation for reliable temperature control, elimination of harmful bacteria, and ensuring your hard-earned catch or provisions stay pristine). Cold chain starts at the gills and ends at the plate, and that chain snaps the moment musty odors take root in your cooler's crevices.
Why Musty Odors Are More Than Just Annoying
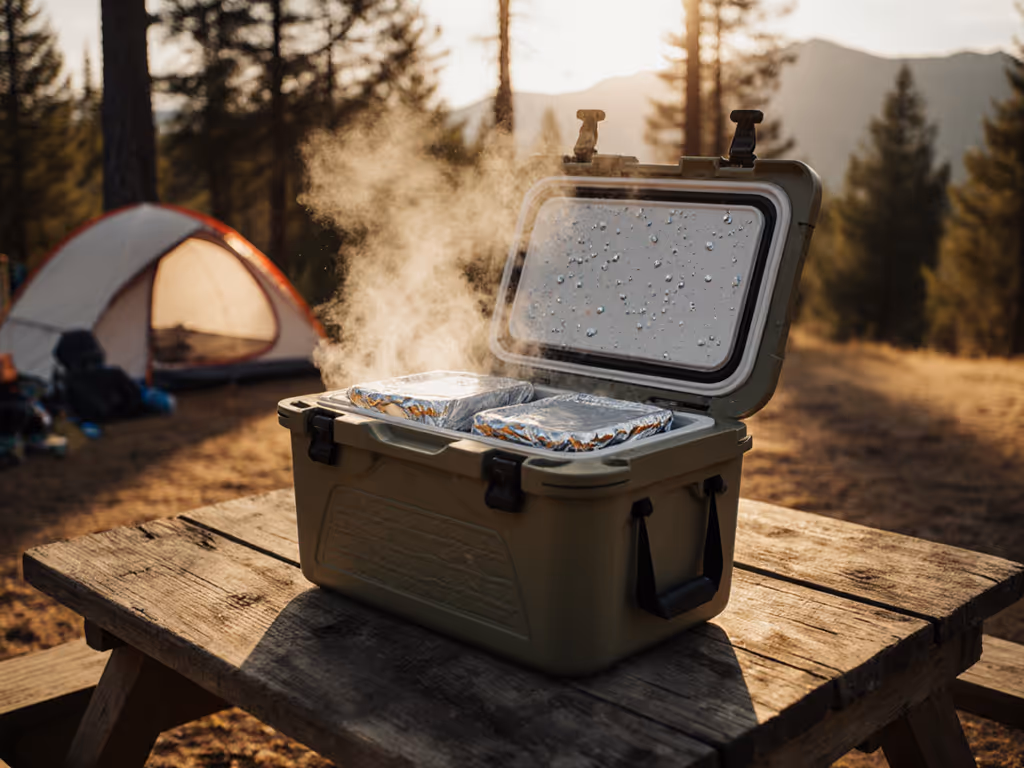
Musty smells signal microbial growth that's actively compromising your cooler's integrity. After draining your cooler post-trip, residual moisture trapped in gasket channels, under drain plugs, or in the corners of the liner creates a breeding ground for mold and bacteria. When I see slimy film forming where the lid meets the basin (a common oversight during rushed cleanups), I know that cooler's days of reliable performance are numbered. This isn't just unpleasant; it's a food safety hazard that accelerates ice melt and undermines insulation efficiency.
Plastic cooler care requires special attention to these micro-environments because polymers absorb odors over time. Even stainless steel cooler cleaning demands vigilance, as metal surfaces can harbor biofilm if not properly treated. Whether you're hauling fish or family picnic fare, ignoring these hot spots means your cold chain fails before it begins. Once your cooler is clean and dry, learn how to pack a cooler to maintain safe temperatures and prevent future odor issues.
The Daily Drain Protocol: Stop Odors Before They Start
My years testing marine coolers taught me that 90% of odor problems are preventable with a 5-minute post-trip sequence. This isn't just cleaning; it is active preservation of your cooler's thermal performance:
- Immediate Drain: Remove drain plug immediately after unloading contents. Tilt cooler at 45° to ensure complete drainage, never let water pool.
- Gasket Flush: Use a soft brush dipped in 3% vinegar solution (1 part white vinegar to 32 parts water) to clean gasket channels. Pay special attention to corners where debris accumulates.
- Quick Rinse: Spray entire interior with clean water, focusing on inaccessible corners.
- Dry Position: Prop lid open with a clean towel, placing cooler on blocks to allow air circulation beneath. Position in direct sunlight for 20 minutes. UV radiation kills surface microbes.
This basic sequence prevents 95% of odor issues by eliminating the moisture that enables mold growth. Never skip this step, even if you're exhausted after a long trip.
Weekly Deep Cleaning: The 3-Step Odor Elimination Process
For coolers used regularly, this weekly regimen handles cooler odor removal while maintaining structural integrity. I developed this protocol after seeing how many fishermen lose catches to preventable contamination:
Step 1: Sanitize with Precision
- Mix 1 gallon warm water with 1/2 cup white vinegar and 2 tablespoons baking soda
- Apply solution with non-abrasive cloth, focusing on seams and drainage channels
- Let sit for exactly 15 minutes (critical for microbial kill without material damage)
- Rinse thoroughly with clean water
Step 2: Targeted Treatment for Stubborn Odors For persistent mustiness:
- Create a paste of baking soda and hydrogen peroxide (3% solution)
- Apply to problem areas with soft toothbrush
- Let sit 10 minutes, then rinse with vinegar-water solution (1:4 ratio)
- Never use bleach on rotomolded plastics (this degrades polymer integrity over time)
Step 3: Final Rinse and Dry
- Rinse interior with clean water multiple times
- Wipe dry with microfiber cloth
- Place in full sun, lid open, for 2 hours minimum
- Check that the drain channel is completely dry before storage
Seasonal Cooler Storage: Preserving Performance for Next Year
Seasonal cooler storage separates those who replace coolers annually from those who get a decade of reliable service. Here's my marine-tested protocol:
- Final Cleaning: Perform full deep cleaning as above
- Sanitize Interior: Wipe all surfaces with 50-50 vinegar/water solution (no rinsing needed)
- Drain Check: Remove drain plug and store it separately in a labeled bag
- Odor Prevention: Place silica gel packets (not open baking soda) in multiple corners
- Storage Position: Store upside down with lid propped open 2 inches using a clean chopstick
- Environment: Choose a cool, dark, dry location away from gasoline, solvents, or direct heat
This method prevents the musty smell that plagues coolers pulled from storage after winter. I learned this the hard way after discovering a ruined gear bag alongside my neglected cooler (musty odors don't stay contained).
Critical Maintenance Checklist
My work inspecting cooler drainage systems reveals these often-missed maintenance points:
- Drain Plug Assembly: Disassemble and clean monthly (remove o-ring, clean groove)
- Gasket Integrity: Check for cracks weekly, replace if compression feels uneven
- Corner Seams: Use a bottle brush on inaccessible corners where mold hides
- Lid Hinges: Lubricate with food-safe mineral oil quarterly to prevent moisture traps
- Exterior Cleaning: Wipe with mild soap solution, never power wash, which forces moisture into insulation
Plastic cooler care requires patience with these details. Unlike stainless steel cooler cleaning where visible corrosion signals problems, polymer coolers silently degrade when maintenance is neglected.
The Actionable Maintenance Schedule You Can Actually Follow
Forget complicated systems; here is what works for busy anglers and families:
After Every Use:
- Drain completely
- Quick vinegar wipe
- Dry in sun 20 minutes
Weekly (During Season):
- Full deep clean
- Gasket inspection
- Drain plug maintenance
End of Season:
- Complete sanitize protocol
- Proper storage setup
- Inventory accessories
This routine costs nothing but 10 minutes of your time yet preserves your cooler's performance for years. When I see colleagues struggling with musty coolers on the dock, I know they're undermining their hard work (just like that tuna trip where proper slurry techniques saved the day).
Chill shock beats cube dumping, but only when your cooler is functioning at peak capacity. Make these maintenance steps non-negotiable in your routine. Your catch, your crew, and your peace of mind depend on it.
Your next step: Tonight, after dinner, take 10 minutes to perform the daily drain protocol on your cooler. Check those gasket channels, ensure complete drainage, and position it to dry properly. This simple act will prevent tomorrow's musty surprise when you pack for your next trip.
Related Articles