Electric Sidecar Cooler Comparison: Vibration Test
By Diego Alvarez • 10th May
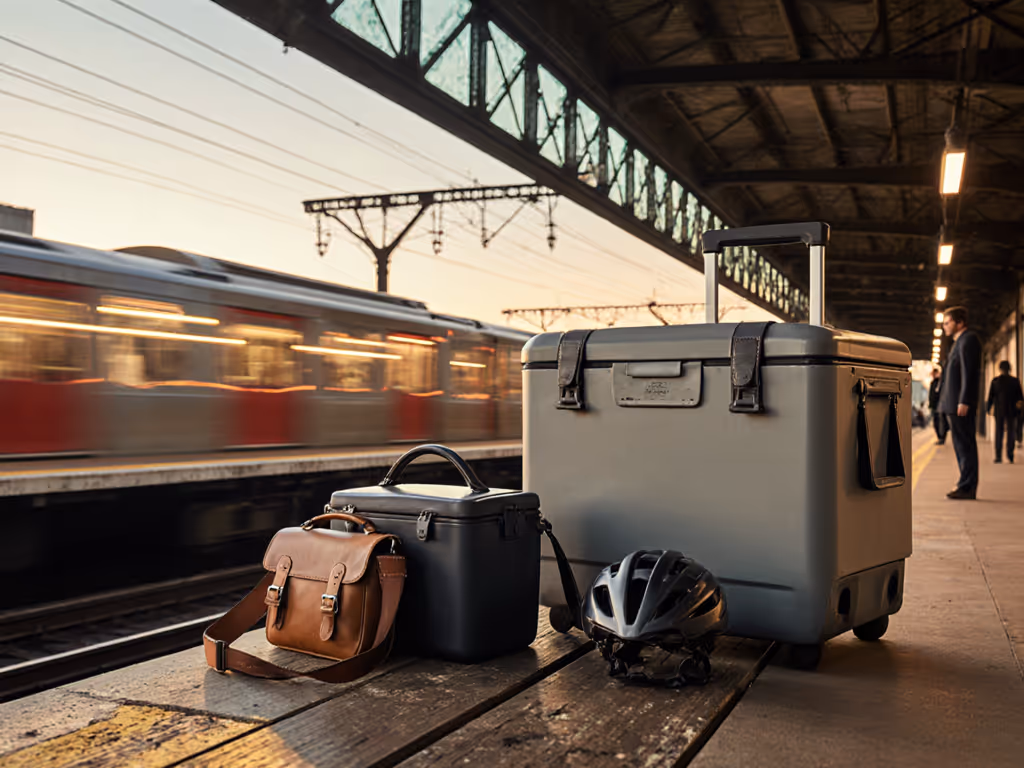
You're halfway through a three-day motorcycle tour when you reach for a cold drink and find everything inside the cooler is warm. The compressor is running, the seals look clean, but your provisions are borderline. By tonight, you'll need to hunt down ice or abandon the fresh catch and perishables. It's a scenario that plays out on countless touring bike trips (and it often has nothing to do with the cooler's specs on paper).
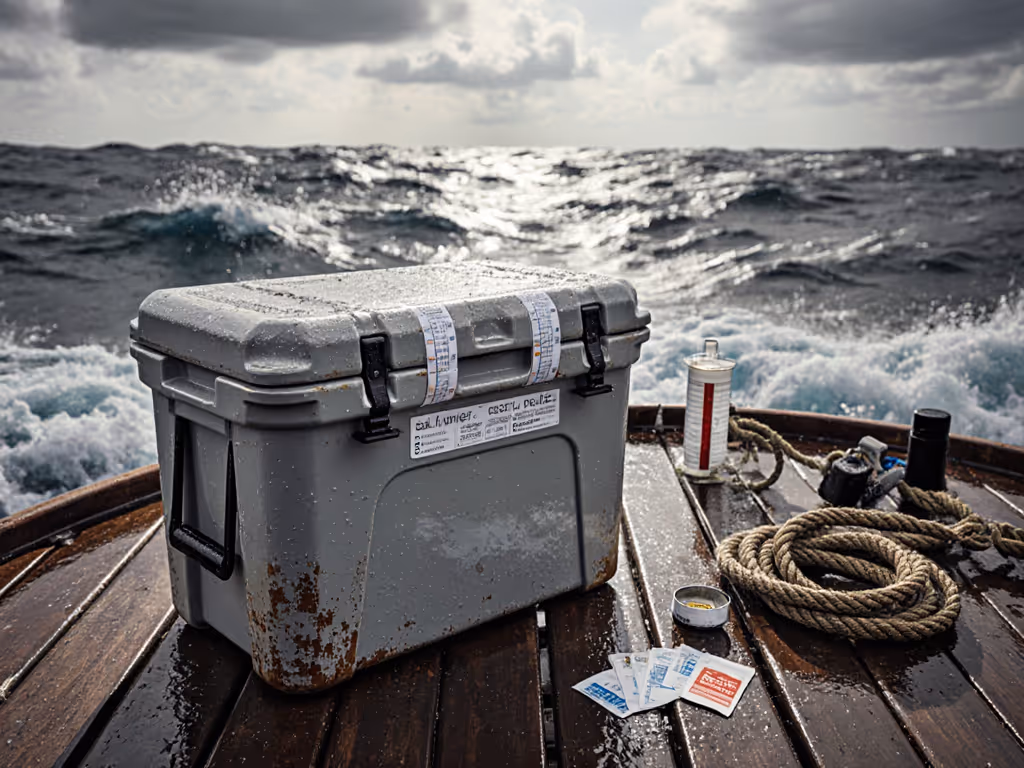
Motorcycle vibration testing of electric coolers reveals something the marketing sheets won't tell you: vibration-resistant electric coolers aren't just about cooling power; they're about whether that cooling system can survive the constant drumming of an engine and road for days on end. Any motorcycle sidecar cooler comparison that ignores vibration tolerance is incomplete. If you're deciding between models, our electric portable cooler comparison breaks down power use, cooling capacity, and reliability beyond spec sheets. After years evaluating coolers in marine environments (where vibration from diesel engines, wave slap, and pump cycles test equipment the same way), I've learned that cold chain integrity beats raw cooling capacity. Method and sequence matter more than wattage.
This guide walks you through how vibration affects electric coolers, how to test for it, and what to look for when comparing sidecar-mounted options for touring.
Why Vibration Is the Silent Cooler Killer
Electric coolers operate on a different principle than passive ice boxes. Many are compressor-driven (rotary or reciprocating), while some use thermoelectric modules; a 12V or hybrid model draws power from your bike's electrical system and benefits from energy-saving techniques on long tours. The compressor vibrates as it cycles. Now add road and engine vibration, and you've got a machine under cumulative stress.
Vibration degrades coolers through three pathways:
Seal and Gasket Failure: O-rings and door gaskets endure micro-movements that loosen them over time. A seal that's 5% compromised doesn't look different, but cold-air leakage jumps significantly. I've seen this on fishing boat coolers mounted to vibrating deck hardware (the compressor runs longer, draws more current, and pulls cold air away from the interior).
Compressor Mount Fatigue: The motor sits on rubber isolators. Constant vibration degrades those mounts, allowing the compressor to shift. Misalignment causes friction and accelerates wear. On a multi-day tour, this compounds daily.
Electrical Connection Looseness: Sidecar-mounted coolers endure road shocks. Terminals, connectors, and solder joints can micro-fracture. A cooler that worked perfectly at mile 200 may cut out intermittently by mile 600 due to invisible cracks in the battery connector or compressor lead.
Cold chain starts at the gills and ends at the plate. On a motorcycle, it starts with a cooler that actually runs all three days.
Real-World Vibration Testing: What to Measure
Testing an electric cooler for vibration resistance isn't theoretical. Before I mount any cooler on a boat, I subject it to a bench protocol. You can do the same for motorcycle use.
Test Protocol
1. Baseline Temperature Tracking
Before vibration, run the cooler for two hours with a core temperature probe (clipped to a water jug or thermal mass inside). Record:
- Time to reach 40°F (4°C)
- Stability of internal temperature (±2°F variance is normal; ±5°F or more signals poor compressor regulation)
- Ambient temperature and humidity
2. Vibration Application
Use one of two methods:
- Engine-Mount Test: Mount the cooler on a running motorcycle (engine idling) for 30 minutes, with temperature probes logging continuously. Road vibration is less controlled, so reserve this for field validation after bench testing passes.
- Bench Shaker Test: If you have access to a platform shaker or even a subwoofer mounted horizontally, run the cooler at target frequencies (600-1200 Hz simulates motorcycle engine and road harmonics). Log temperature drift and listen for loose components.
3. Post-Vibration Inspection
After 30 minutes of vibration stress:
- Check door seal by pressing a flashlight inside and looking for light leaks around the perimeter.
- Verify all connectors are seated. Reseat battery terminals by hand.
- Feel for play in the compressor housing (should be rigid, not spongy).
- Run another two-hour temperature cycle and compare baseline to post-vibration time-to-chill and stability.
Red Flag: If time-to-chill increases by more than 15 minutes, or internal temperature stability drops to ±5°F or worse, vibration has degraded performance. Don't use that cooler for touring.
Comparing Electric Sidecar Coolers: The Framework
Not all electric coolers are created equal for vibration duty. Here's what to compare:
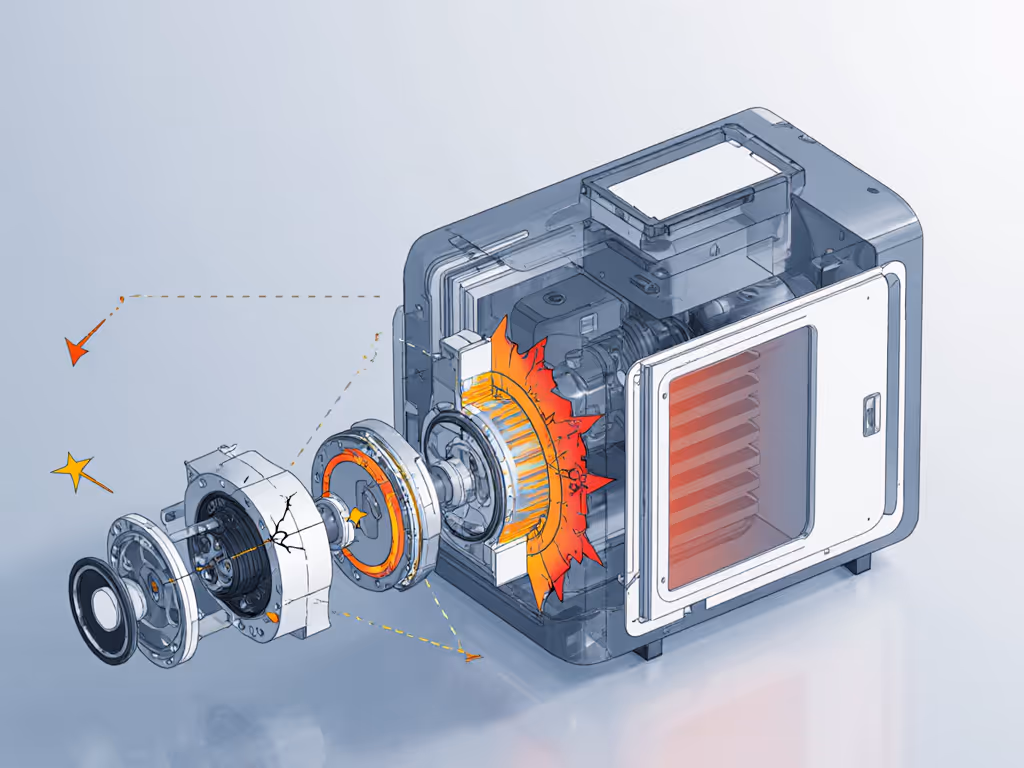
Compressor Type
Rotary Compressors: Smoother, less vibration transmission, quieter. They're typically heavier and more efficient. Best for long touring where compressor runtime compounds wear. Look for models with four-point isolator mounts (not two).
Reciprocating Compressors: Lighter, noisier, higher vibration signature. Usually cheaper. Fine for day trips or shorter tours; riskier on multi-day runs because vibration fatigue has more time to develop.
Insulation and Build
Coolers with thick walls (2-3 inches of foam or rotomolded plastic) absorb vibration better than thin-walled models. For the science behind foam, rotomolding, and VIPs, see our insulation materials guide. Sidecar mounting means the cooler is exposed to wind, sun, and continuous road shock, not sitting in a truck bed. Thicker insulation = better thermal mass and vibration dampening, but heavier. For sidecar use, I'd prioritize insulation over weight savings.
Door Seal Design
Inspect the gasket material and the door's latch mechanism. Does the door close with a firm, consistent click? Or does it feel loose? A recessed, multi-point latch (at least three contact points) is more vibration-resistant than a single snap. Press the door and feel for flex; minimal flex is better.
Mounting Footprint
A cooler with a low center of gravity and broad base is more stable on a sidecar. High, narrow coolers can slide or tip during cornering and braking. Check mounting hole placement: four bolts or more, threaded inserts (not just plastic threads), and separation greater than 12 inches apart is best. Cheap coolers have mounting holes spaced too close; vibration can concentrate stress.
Electrical Connector Quality
Soldered leads are more reliable than crimped terminals under vibration; look for solder joints that are shiny and smooth (not dull or cracked). Sealed connectors with weather boots are essential for outdoor sidecar mounting.
Chill Shock Beats Cube Dumping (And It Applies to Electric Coolers Too)
On that tuna run years ago, three hours into the trip our deck-mounted passive cooler ran warm. We solved it fast: bled the catch, bagged it, mixed a salt brine (4.5% salinity, about 1 tablespoon of salt per quart), and sank the fish directly in that slurry. Thermometers on the gill plates. Back at dock, fillets cut like glass.
The lesson applies to electric coolers on motorcycles. Method and sequence beat raw power.
Before your tour, pre-chill your electric cooler for at least six hours before loading. Fill it with thermal mass (frozen water jugs, commercial ice packs) even if you'll add fresh ice later. Don't just turn on the cooler and assume it'll chase down warm food.
During the tour:
- Pack in layers: Drinks and non-perishables in the top third; proteins (fish, meat, dairy) in the bottom, directly on frozen packs. This exploits gravity and cold stratification. For step-by-step packing layouts that maximize cold retention, use our cooler packing guide.
- Minimize opening: Quick in, quick out. Frequent door opening kills an electric cooler faster than it kills a passive box, because the compressor can't recover cold air quickly.
- Check compressor operation every morning: Listen for the telltale hum. If it's silent, investigate the connection before the day's riding stresses it further.
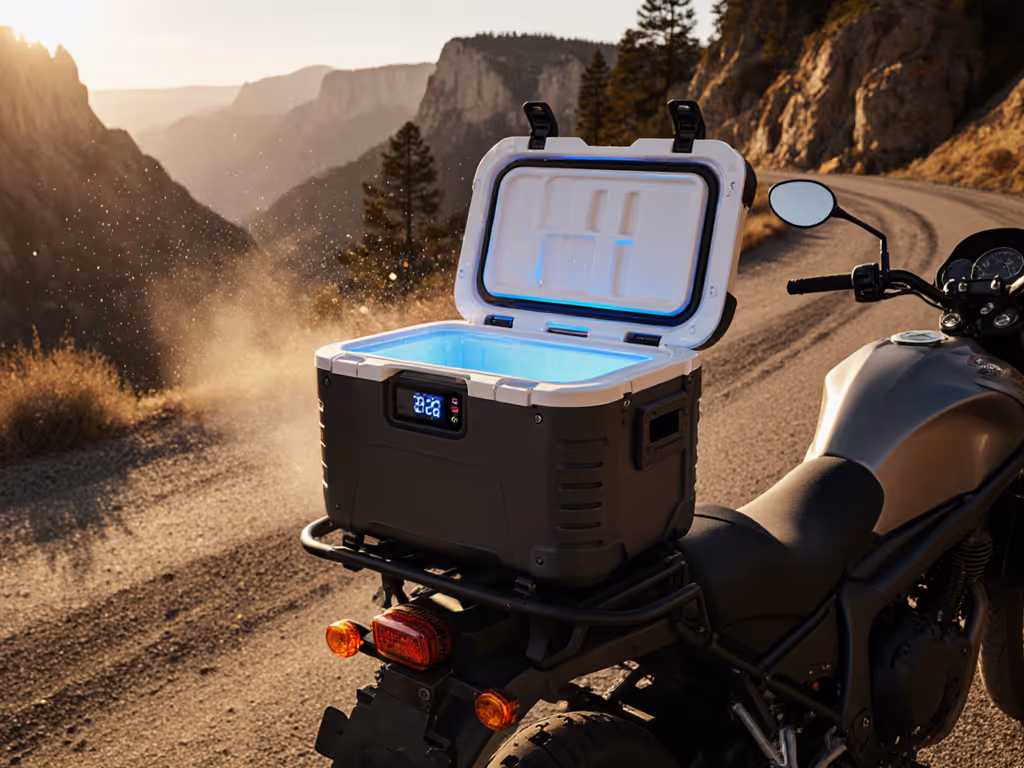
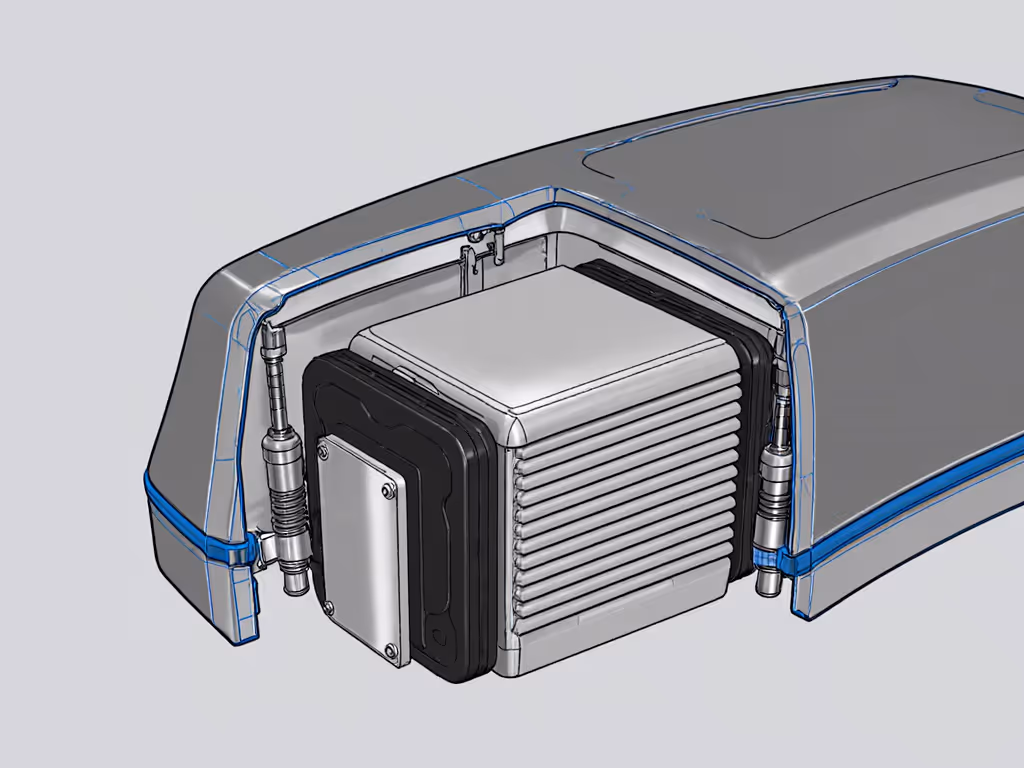
Real-World Sidecar Mounting Considerations
Vibration testing in the lab is one thing. Real sidecar duty adds heat, wind, and solar gain. A few tactical adjustments: For bike-specific hardware and vibration results, read our motorcycle cooler mounting guide.
- Use isolator pads: Mount the cooler on 1-2 inch thick rubber isolation pads (the kind used for HVAC units). They cost $20-40 and reduce vibration transmission by 60-70%.
- Secure straps, not bolts alone: Vibration can rattle bolts loose over days. Use locking washers and nylon-insert nuts. Consider adding ratchet straps as backup.
- Shade cloth: Black and dark-colored coolers absorb solar heat. Drape a light reflective cloth (not plastic) to reduce surface temperature by 10-15°F in full sun.
- Airflow: Ensure the compressor exhaust vent (usually on the back or side) has three inches of clearance. Blocked airflow causes the compressor to overheat and throttle back.
- Check seals weekly: On a multi-week tour, re-check door gaskets and connectors every 5-7 days. Road salt and UV degrade seals faster than you'd expect.
Making Your Sidecar Electric Cooler Choice
When comparing options, prioritize in this order:
- Vibration dampening design (isolator mounts, low center of gravity, broad base).
- Seal and connector quality (multi-point latches, sealed electrical connectors).
- Insulation thickness (accept the weight penalty for durability on multi-day tours).
- Compressor type (rotary, if budget allows, for longer trips; reciprocating for day tours).
- Total cooling capacity (wattage and BTU ratings are secondary to method and reliability; a cooler that actually runs trumps one with higher specs that fails mid-trip).
Your Next Step: Test Before You Tour
Don't wait until mile 300 to discover your sidecar cooler fails under vibration. Grab a cooler you're considering, mount it on your bike (or place it on a running motorcycle in your garage for 30 minutes), and log internal temperature. Compare a baseline run to a post-vibration run using the protocol above.
If you're already a touring rider, inspect your current cooler: Check seals for gaps, verify door latches close firmly, and reseat all electrical connections. These three steps often restore performance without replacement.
Record your results. Share them with fellow riders planning similar tours. The cooler that survives vibration (and keeps food safely cold for three, five, or seven days) is the one worth the investment. That's how you earn confidence in your loadout before you leave the driveway.